When I began using
Unity3D about two weeks ago, I was overwhelmed by the vast amount of features and couldn't decide where to begin. The manual seemed like the best place to start, but it just wasn't teaching me in a way where I could quickly grasp onto the basic mechanics. I needed a tutorial; one that was thorough, but not enough to feel too overwhelming.
I wanted a written tutorial because I learn better when I see the details in writing than I do by parsing voice instructions (that and the fact that I have a 15GB/mo bandwidth cap,) and I found what I was looking for in two PDFs tucked away in the Unity manual (
GUI Essentials/
Scripting Essentials). Reading these was quick and painless, and afterward made me feel like I'd been using Unity for years. They taught me how to maneuver around the scene editor, create objects, scale them, apply textures to them, and much more. As short as those two tutorials were, they certainly cleared the path for me and I no longer had to wonder where to begin using Unity; they are, as their titles imply, essential when beginning with Unity.
Since I now knew the basics of using Unity, I wanted to further expand upon my knowledge; what better way to do so than just chuck learning aside and focus on making something? Granted, you'll need to learn to do the things you want to do, but you need to want to do something before knowing what you need to learn.
I began work on a small project based on an idea that I have no intentions of undertaking right now. It's a simple house (at the moment: room) which I began constructing in Unity using cubes for the walls, ceilings, and floors. It was simple and taught me more about constructing more believable environments than just cube pillars, planes, and falling boxes with rigid body physics. I threw in a point light and Unity's preset first person controller asset and had a nice, textured box that I could walk around on the inside.
 |
| Emptiness at its (somewhat) finest. |
Being the IRC addict that I am, some people and I got into a conversation about properly constructing interior environments. While you
could use Unity's built-in geometry, it is by no means a 3D modeler (unless you have
GameDraw or something.) Since I was building a house, I would want more than just four walls, a floor, and a ceiling. Doors, for instance, would require having a hole in the wall for its placement, not to mention the door model itself.
Someone had stated that most/some developers create their interior environments in a proper 3D modelling tool, import them into their project, throw them into the scene, and decorate it with other imported assets (such as furniture models.) I had
Blender, but never really had a reason to learn how to use it other than for fun; since my plan was to make a 3D game and I would eventually need to learn how to use it to create models, I decided to go ahead and learn how to use it for the purpose of modelling my house.
Skipping the details of me learning the interface of Blender (a lot more difficult than Unity's - I'll say that much,) I created a cube and scaled it appropriately until it resembled a wall. I then subdivided the cube many times until there were enough faces for me to select to cut out a hole into each side of the cube where the door would go, and then I closed off the gap between the two walls where the door holes were by adding 3 new faces (left, top, and right inside of the door holes.) All that was left to do now was texture it.
Unity requires a UV map for texturing models imported into it from Blender (this possibly goes for other modelling tools as well.) If you're uninformed on the subject, a UV map is essentially a map of the object's vertices upon a texture: a vertices' position is mapped to a texture, and the texture is applied to the model using the coordinates of all of the object's vertices within the texture map or something like that.
I couldn't for the life of me figure out how to create a proper UV map for the wall in Blender, and none of the tutorials on YouTube I watched were helpful. The most I could do was remake the wall model over and over and over, messing with the UV map each time until I eventually figured out how it worked on my own. This process took a week of on-again, off-again messing about, and I discovered that there were simply just too many vertices in my cube for me to easily manipulate the UV coordinates. Dissolving the vertices into as minimal faces as possible wasn't helping the fact that my unwrapped mesh looked like some random lines scattered about a blank image.
 |
| It kind of resembled a web slung by a drunken Spider-Man. |
Finally, it occurred to me that using a cube for a wall probably wasn't the "proper" way of doing things, and I decided to use a rotated and scaled plane instead. I had just learned about the knife tool in Blender, so I straightened out my view in the editor and began cutting a hole into the plane in the shape of a rectangle door. The result was magnificent; I had finally figured out how to properly create my wall!
I duplicated the freshly made wall, moved it -0.25 on the x-axis, rotated it 180 degrees so the visible side of the duplicated plane was facing outward, selected both meshes, went into edit mode, and created faces on the left, right, and top between the two planes inside of the door holes to attach them. I unwrapped the walls using the Smart UV Unwrapping tool since normal unwrapping produced unusual results (because I have no clue what I'm doing) and proceeded to align the vertices up with the texture.
 |
| Using the color grid is extremely helpful in my case. |
I had finally done it! I created a wall with a door hole and got the UV coordinates correctly mapped to the texture! Would it work in Unity, though? I tossed it in there and applied the wallpaper texture to it to see. The result was better than I anticipated.
 |
| Success! |
I was pleased. After success had finally sunk in, I decided to go ahead and model the rest of the room. Using the same technique I did for the door wall (minus cutting a hole into it,) I successfully created a room that had unexpected gaps between the floor and walls. Bummer, but at least it could be fixed by repositioning the meshes in either Unity or Blender; being the perfectionist I am, however, that simply wasn't going to fly.
I had an idea that I could subdivide the plane and cut the faces off of it instead of using the knife tool to haphazardly cut the hole into the wall, so I decided to recreate the wall yet again using this method to cut out the door hole. After doing so, I selected all of the plane's vertices and did a limited dissolve which gave me the same results that I got with the knife tool - the only difference was that the position and size of the door hole was dependent on the subdivided faces I cut out and not my own judgment from dragging around the knife tool. This was overall a much cleaner way of cutting the hole into the wall.
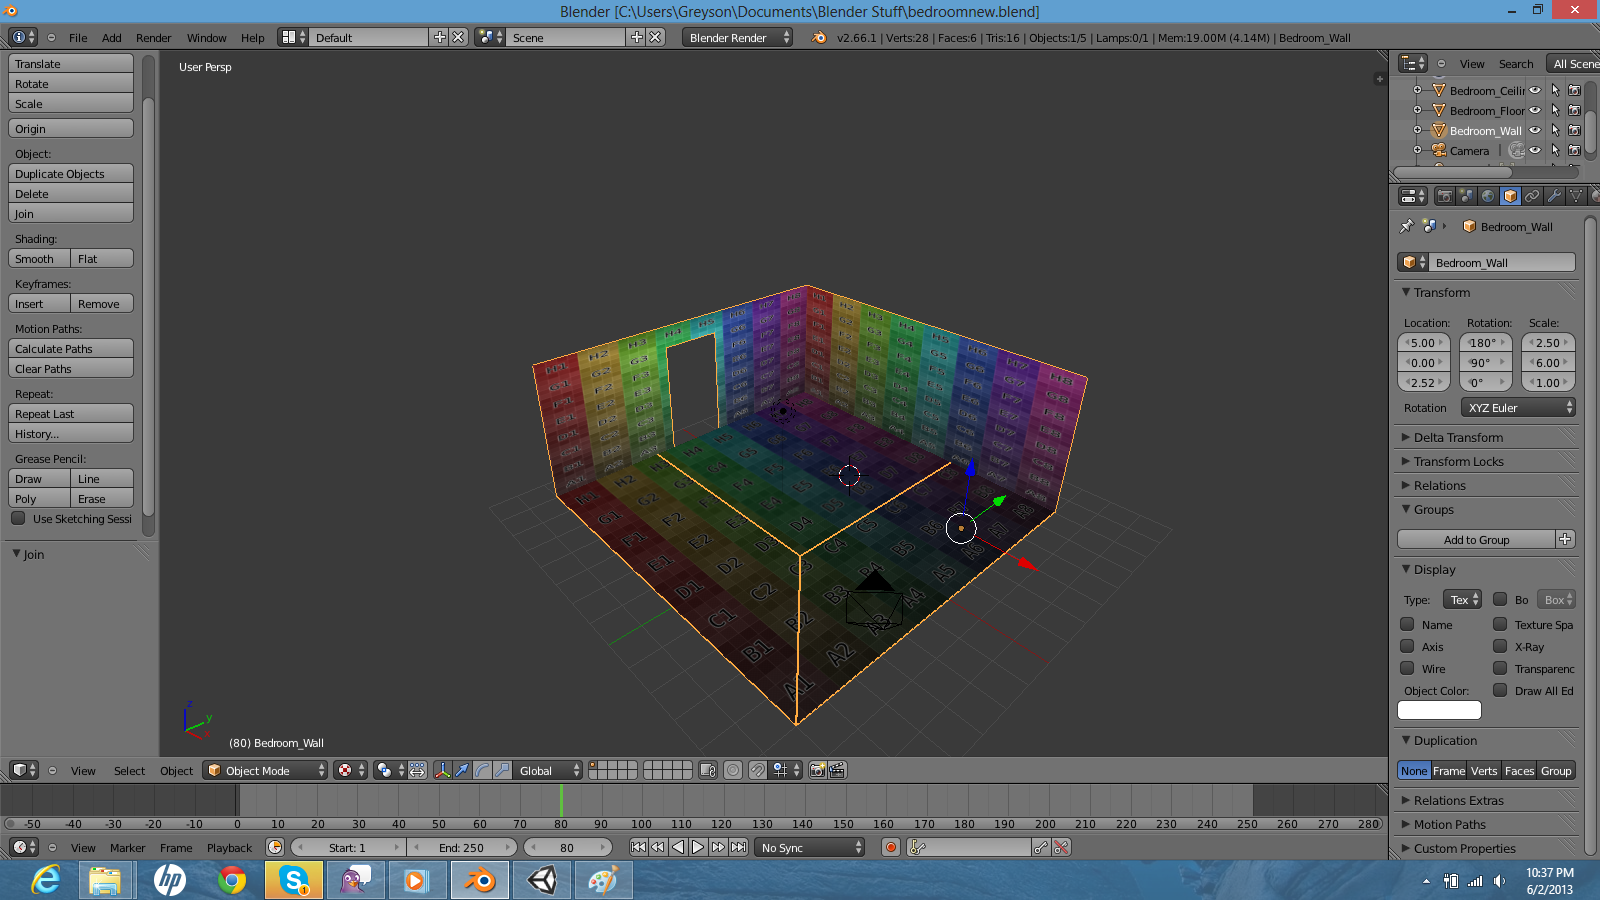
 |
| The entire room model in Blender. |
I grabbed a couple of new wallpaper textures from
CG Textures and imported them into Unity for use on my walls. I was sick of seeing the old checkered pattern I'd been using from day 1. I also grabbed a new texture for the ceiling, but not for the carpet as I couldn't find any decent carpet textures.
 |
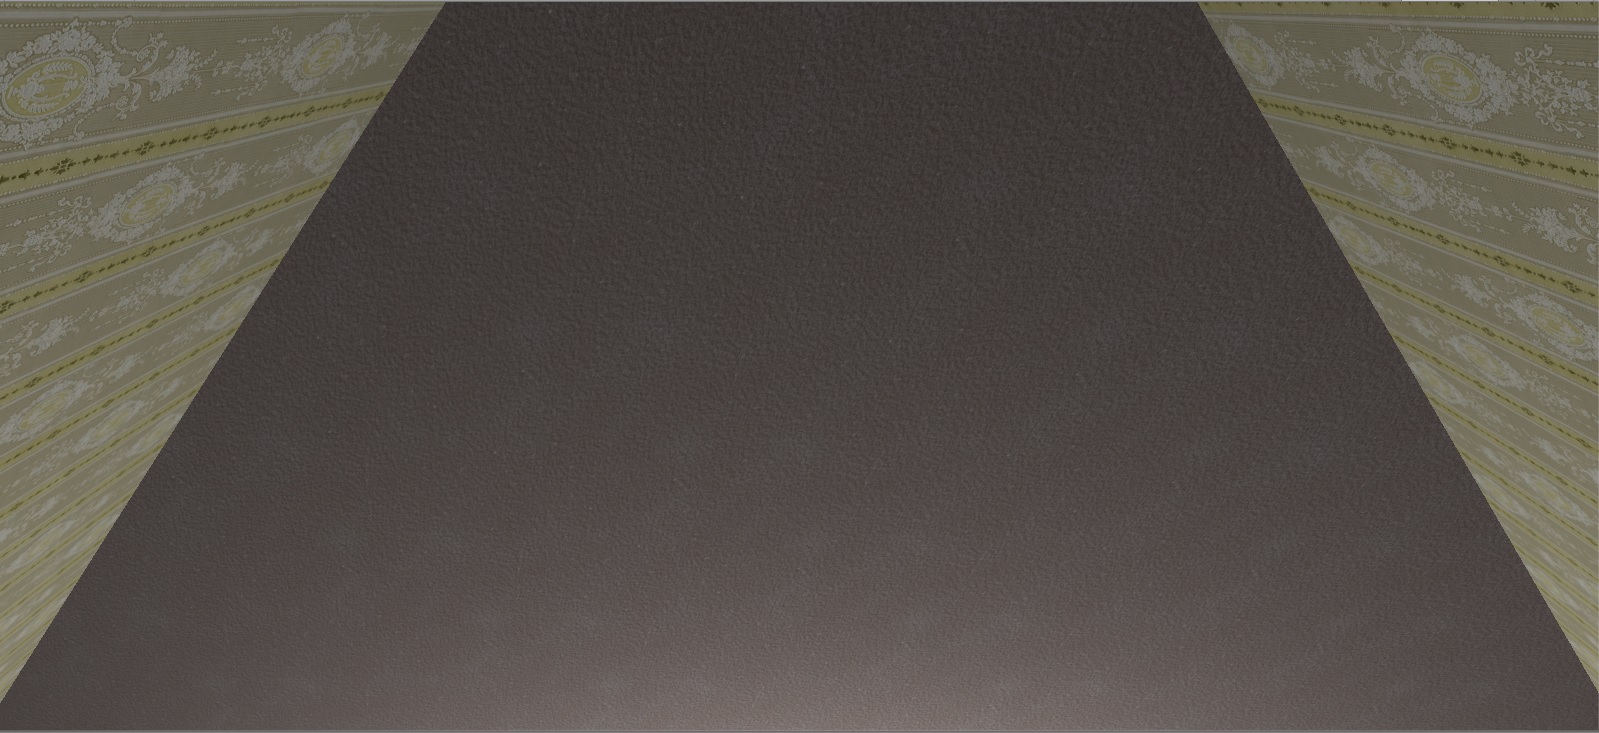
| This new wallpaper brings a fresh look to the room I've recreated a dozen times. |
As you can see from the above screenshot, I threw in a first person controller so I could walk around the room. I also had to add a mesh collider component to the walls, floor, and ceiling to prevent the controller from going through them.
 |
| It looks a lot better than my first attempts. |
In the end, I'm quite fond of my room. Sure, it's pretty barren and simple, but it's an achievement for me. The textures provide just enough detail to make me feel like a pro (hurrah for high-res,) though I know have a very long way to go before I can even dream to be.
What's next on my agenda? I haven't decided yet.